By this time, you might already know about View Transitions API. In short, they provide mechanism for animating transition between two DOM states. For example, if you want to smoothly transition from one page to another page, you can do so with view transitions API.
In the past, I had implemented page transitions using React Transition Group. It seemed little complex to understand, and it didn't work well with accessibility. Now that browsers provide an in-built API to do the page transitions, it's time to update.
There's a great example in Chrome for Developers page that shows how to implement the view transitions API. In this blog post, let me show you a simple implementation in my blog that uses Next.js.
Before View Transitions
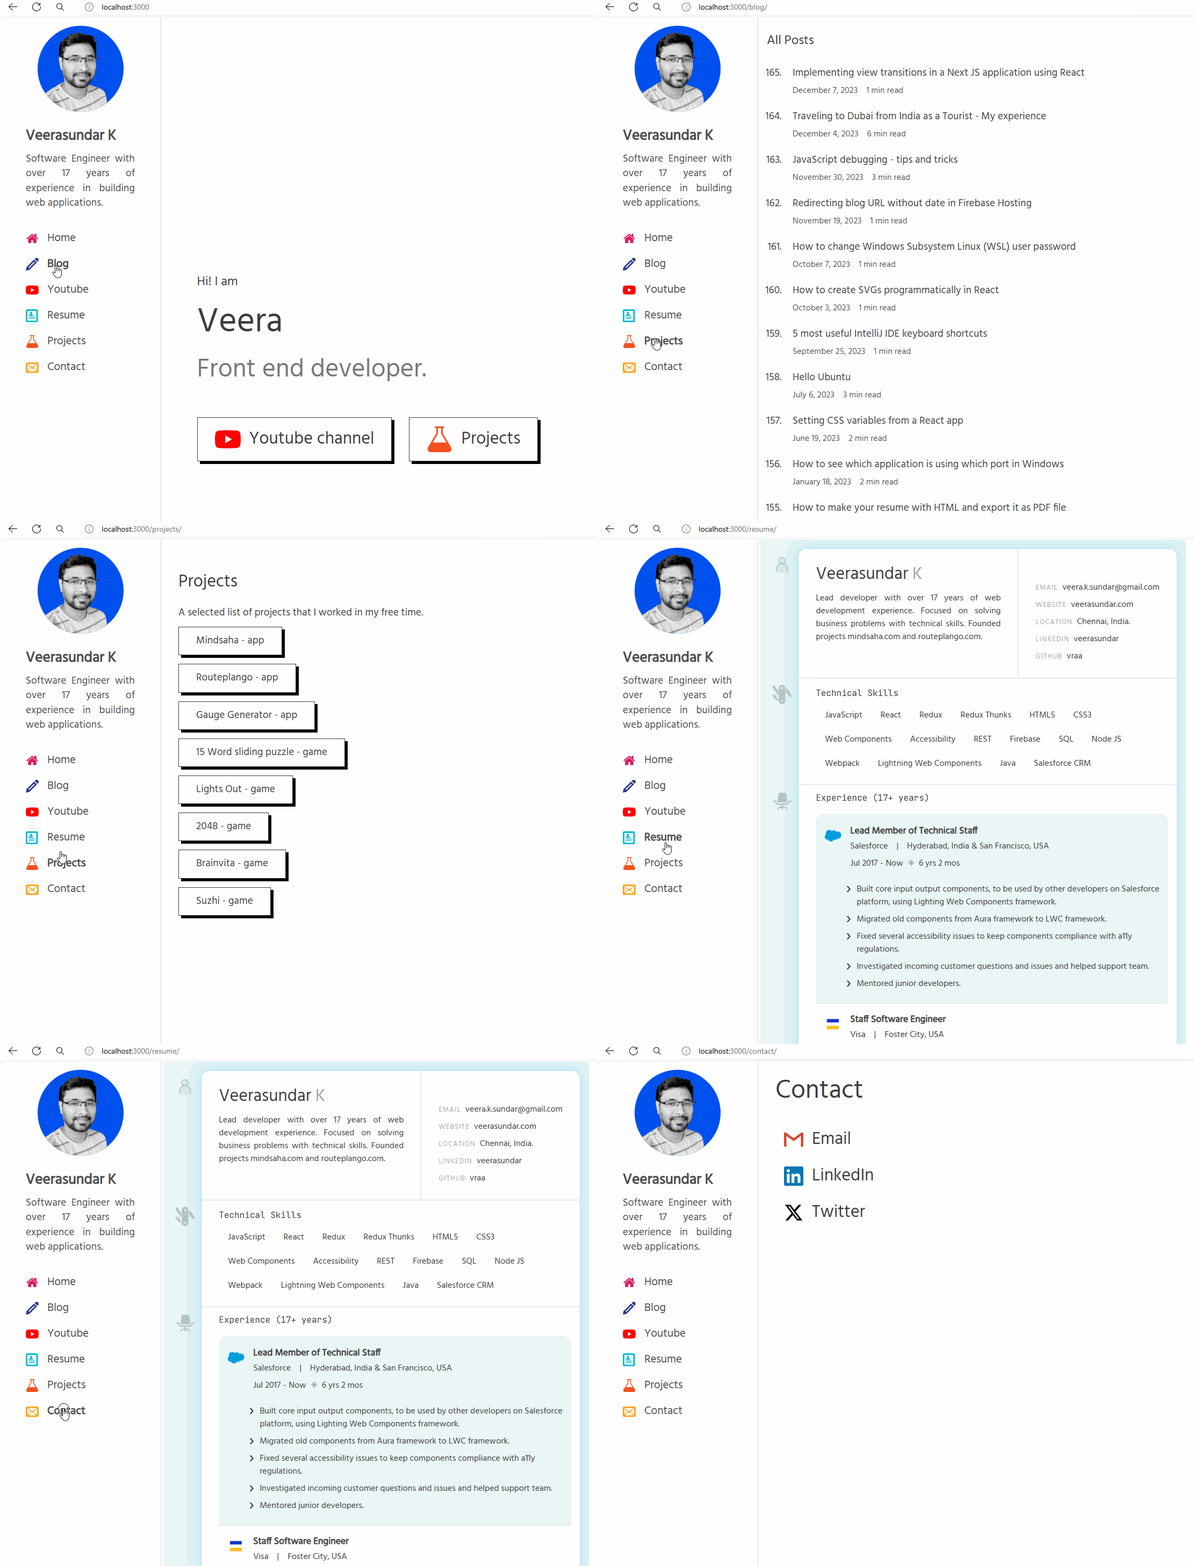
As you can see in the below GIF image, when I navigate to different pages in my blog, the browser loads the new page without anu smooth animation.

After View Transitions
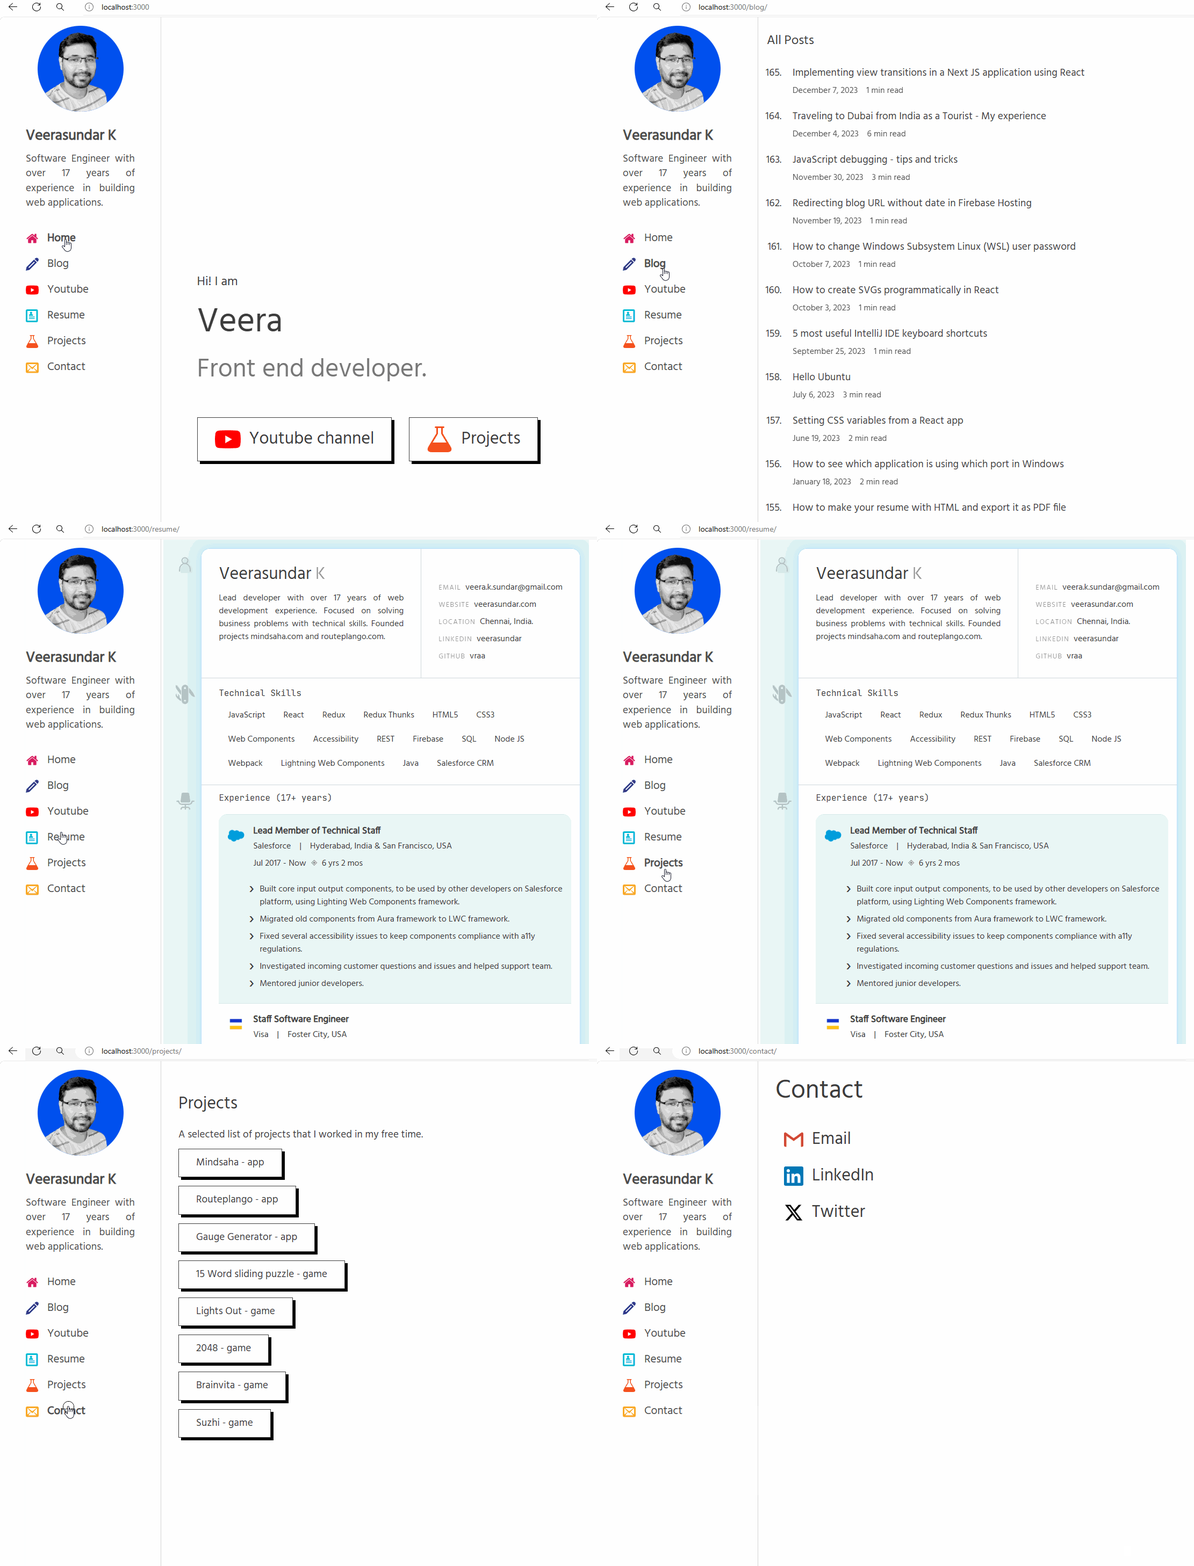
Let's take a look at the same page navigation, but this time with view transitions added. (The animation is not smooth, because of GIF, but in browser it will be butter smooth.)

View Transition Implementation in Next.js application
I use Next.js to build my blog. Next.js provides a Link component to render hyperlinks and navigate to the pages. We can wrap this Link component in our custom LinkTransition component that enables the view transition.
// LinkTransition.jsx

import Link from "next/link";
import { useRouter } from "next/navigation";

function LinkTransition(props) {
  const router = useRouter();
  const handleClick = (e) => {
    if (!document.startViewTransition) {
      // browser does not support view transition. Continue the default behavior.
      return;
    } else {
      // browser supports view transition. Animate the transtion.
      e.preventDefault();
      document.startViewTransition(() => {
        router.push(props.href);
      });
    }
  };

  return (
    <Link onClick={handleClick} {...props}>
      {props.children}
    </Link>
  );
}
export default LinkTransition;
Once we have this component, you can use it in place of Link component to have the page navigation transitioned.
Customizing the transition animation
By default, the view transition API just fades in / fades out the DOM elements. But you can customize the animation via CSS, by applying animations to ::view-transition-old and ::view-transition-new pseudo-elements. For example, here is a sliding animation, taken from Chrome Web Developer page.
/* global.css */

@keyframes fade-in {
  from { opacity: 0; }
}

@keyframes fade-out {
  to { opacity: 0; }
}

@keyframes slide-from-right {
  from { transform: translateX(30px); }
}

@keyframes slide-to-left {
  to { transform: translateX(-30px); }
}

::view-transition-old(root) {
  animation: 90ms cubic-bezier(0.4, 0, 1, 1) both fade-out,
    300ms cubic-bezier(0.4, 0, 0.2, 1) both slide-to-left;
}

::view-transition-new(root) {
  animation: 210ms cubic-bezier(0, 0, 0.2, 1) 90ms both fade-in,
    300ms cubic-bezier(0.4, 0, 0.2, 1) both slide-from-right;
}
Conclusion
Implementing page transitions have never been this much easier - thanks to View Transition API. Not all the browser supports it yet, but until they do, we can progressively enhance the user experience in browsers that do support it (Chrome / Edge).